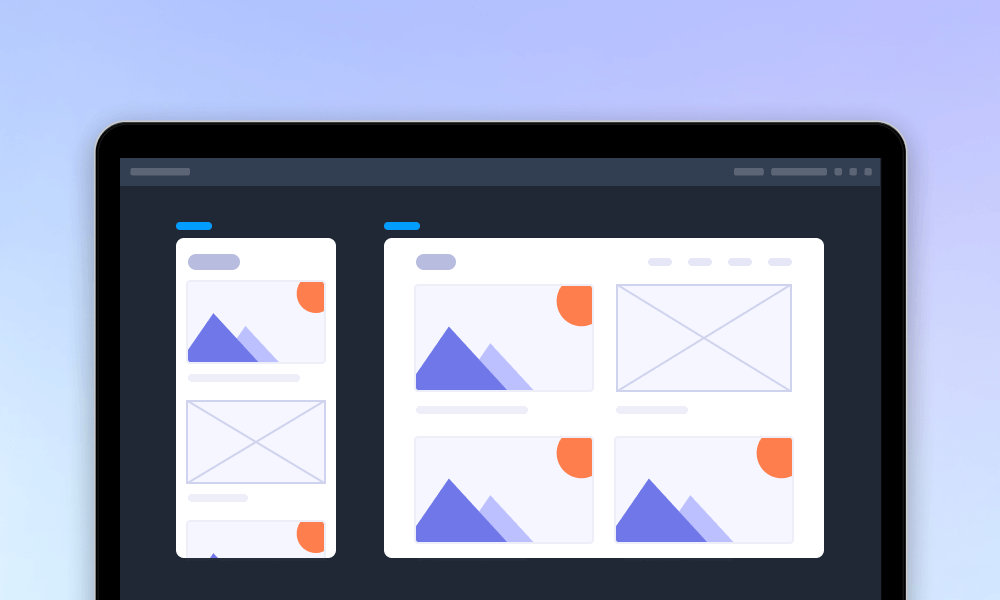
App prototypes are fundamental tools that help you visualize product ideas and let you test your app to see how usable it is in solving perceived user problems in the early stage of the design and development process.
There are many prototyping methods and finding the right method is important to get the most effective feedback on what works best for your website or app.
So, we compile 8 of the most popular prototyping methods and learn how to choose the right method to streamline your product design workflow. You may also check the following best practices to create more effective and testable prototypes to gather useful feedback from real users and others.
Table of Contents:
Prototyping is the process of creating a paper or digital visual presentation model or sample of your app or website concept, so you and your team can keep testing and iterating the interface, interaction and other prototype details to get rid of all non-executive assumptions in advance.
With either paper or digital prototypes, you can polish your initial ideas to become their best state, you can test your project out on real users and gather important feedback that helps save you time and money in the long run, before entering the costly development stage.
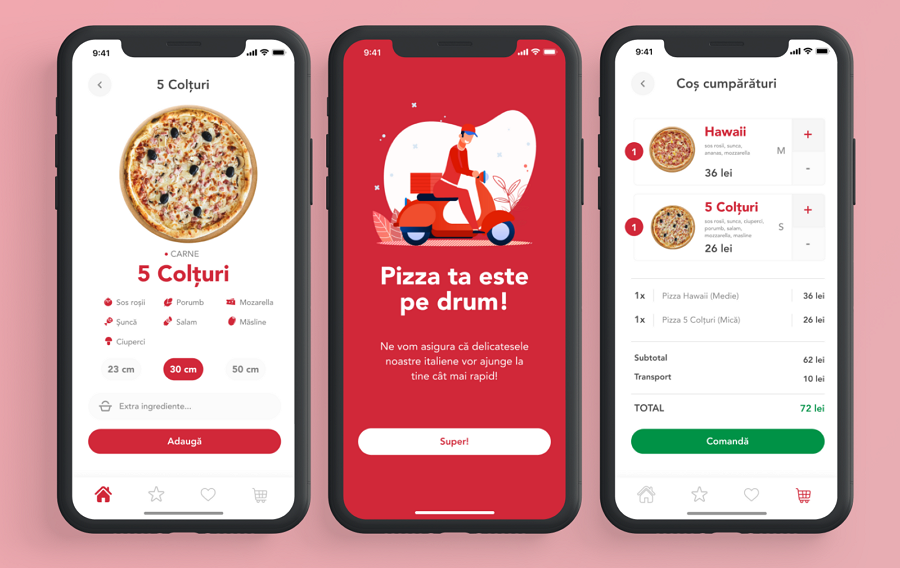
Let's first look at an app prototype:
As an app design beginner, you may want to ask: "Why is prototyping so important?" Here are 5 reasons why you should create prototypes before starting developing your concepts:
The app prototyping process has become the essential step of the product design and development process.
When it comes to software prototyping, there are commonly two types of prototyping:
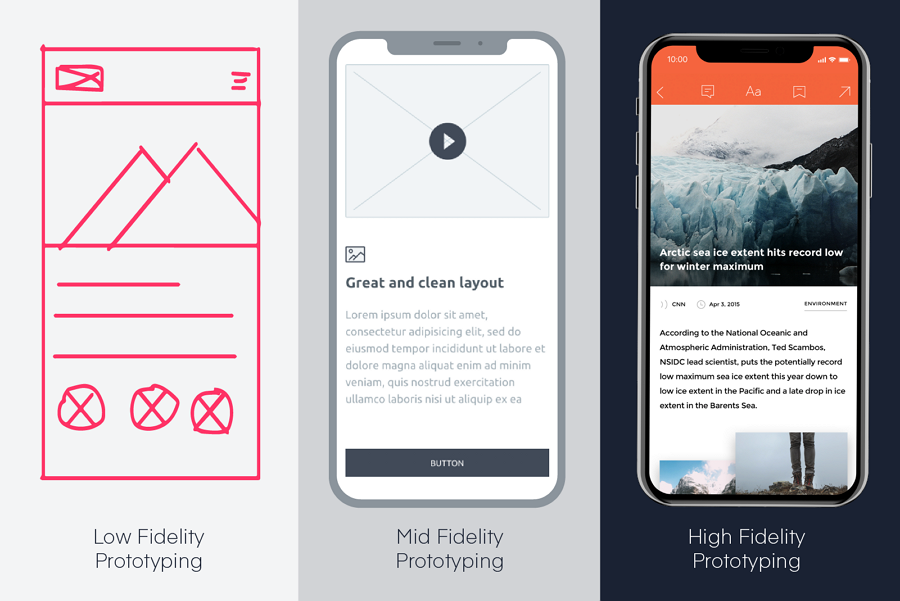
Check the advantages and disadvantages:
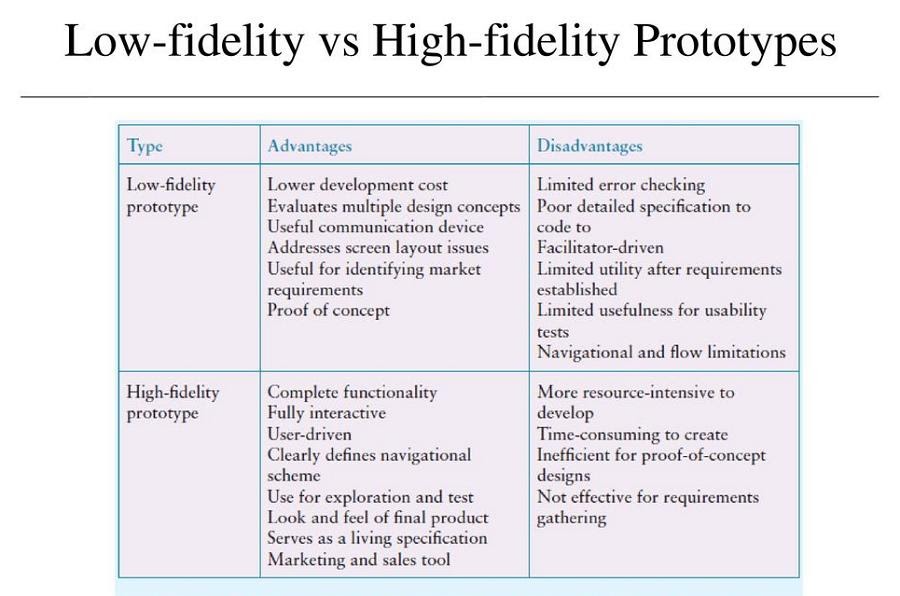
If you are still confused, read more details on Low-fidelity vs high-fidelity prototyping.
Let's check 8 common prototyping methods that you should use during your product design lifecycle:
Sketching is often the first method used by designers to illustrate rough ideas at an early stage of the prototyping process.
This is when designers or product teams have early ideas and want to quickly note down how they want to organize their interface or how the user will interact with the app, in broad terms.
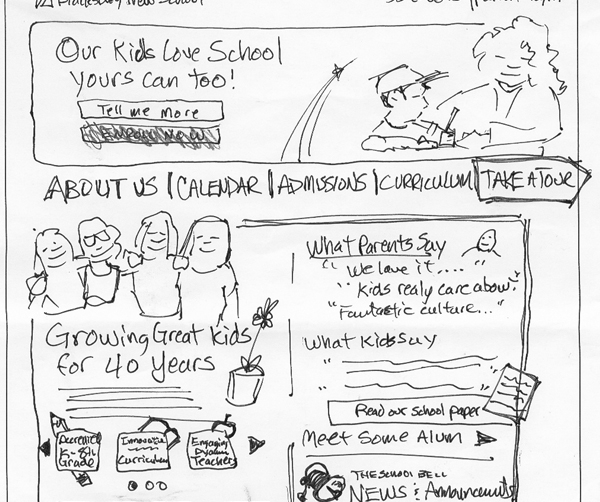
Sketches help you capture all possible ideas as soon as possible when they come.
To capture all those ideas as soon as possible, sketching them all out on paper is always the best choice. With paper and pens, people can easily focus on the key items and never worry about the details.
Additionally, to better illustrate or iterate your ideas, you can also sketch out all related flowchart diagrams, mind maps and sitemaps. Anyway, in case of missing any great idea, try to sketch out everything that pops in your mind.
A website or app with high quality UX engages the user in a natural manner and telling stories is an integral part of that. To create better products from the outset, designers can create storyboards to visualize and evaluate their entire user flow.
Storyboarding is the second type of prototyping and testing and as such, helps map out how a user will achieve their goal step by step on your website or mobile app, including placing an order, finding product details, asking a question or starting a member request and so on.
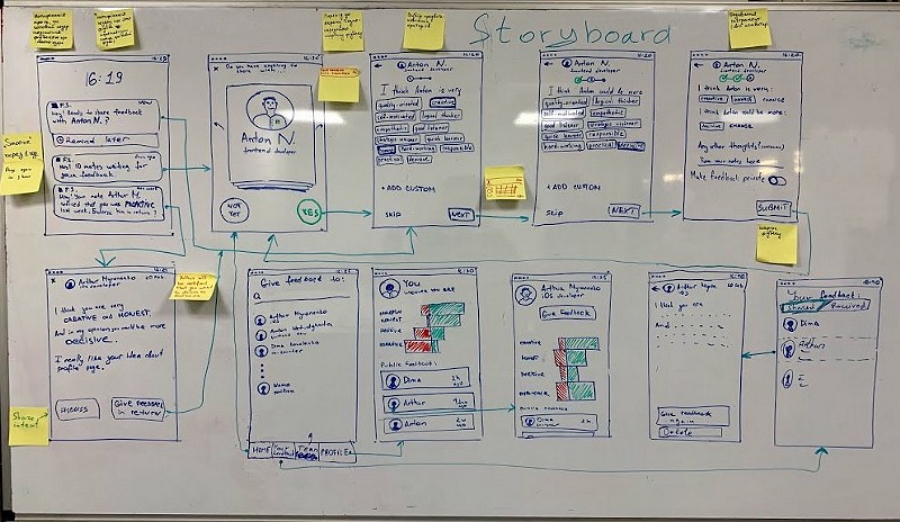
Create storyboards to present your ideas about user flows and see whether they all are reasonable and executive.
Similar to an image gallery, your artboards and designs are laid out for you to see from above or from a distance. Having this perspective gives you a new angle to view your work and to help refine how your designs link together.
Sketching is the fastest way to capture and record your ideas, simply allowing you to visualize the ideas in your mind. To iterate these sketches and turn them into something resembling an app, you need to make a paper prototype. In a paper prototype, you add details such as components, colors, elements and even some simple interactions. This way you can use your app and test out the concept on your own or with your team.
With all of the basic structures, layouts and elements, paper prototypes are great first stage prototypes to test out the usability and demonstrate how your product will work.
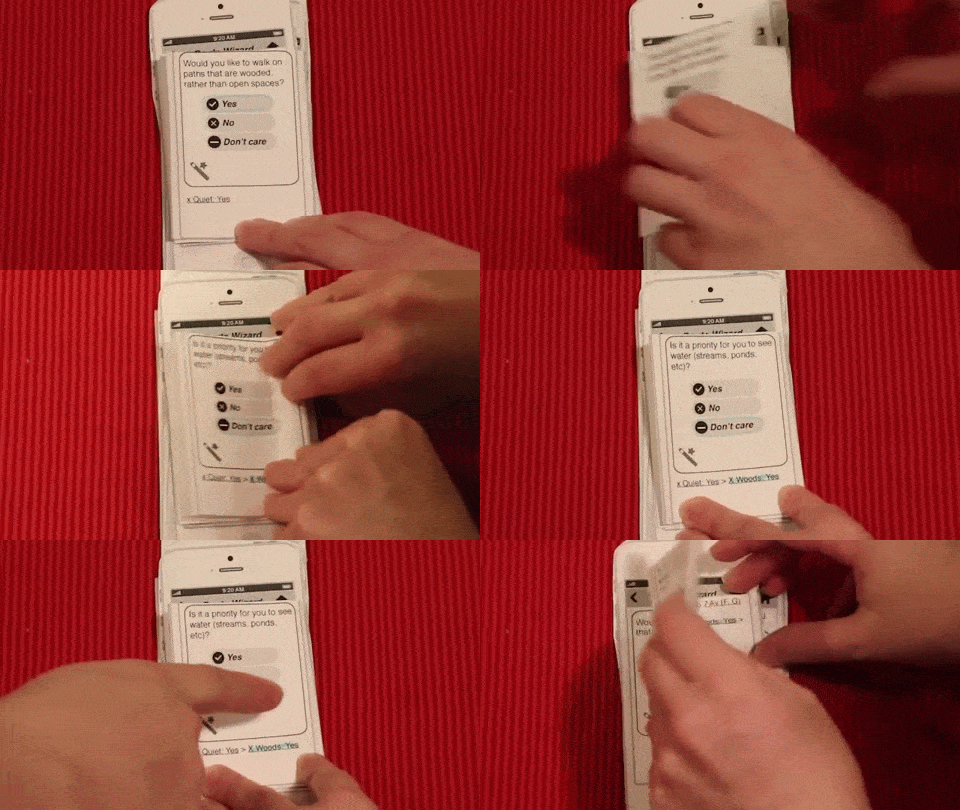
Paper prototypes help you present the basic details, and test the basic functionalities without distractions. It may also require high imagination.
Paper prototypes are often forgotten because digital prototypes are easier to create and share, but for me, paper prototyping still has a use in getting a tangible product in my hands, letting me know if there are any issues in how it is portrayed in the real world.
Whether to skip the process, all depends on whether your team will still need it or not.
Role-playing is definitely the most fun method of prototyping. Think less drawing up specifics and more creating and going through broader written out use-cases.
Take a food delivery app as an example. In general, there are two different types of users: the shop owner and the customer. As a customer, you want to find the food you want to order as soon as possible, so you will need to view all available options, place an order, check delivery information and pay. This is a broadway of going through a user journey but helps us as a product team keep our fundamental use case in sight.
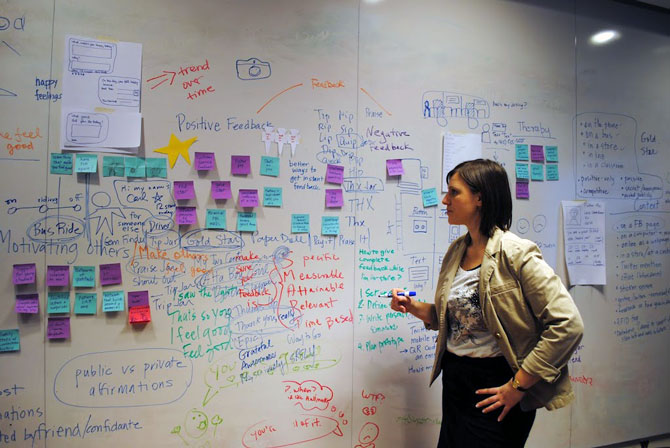
Role playing is a fun method that helps you explore user scenarios by standing in the shoes of different roles. It allows you to think in a different angle to find all potential problems easily.
But when you log in as a shop owner you want a completely different use from the app. You want to be able to quickly create a shop, add all food details, check orders, start a delivery or even deal with a customer complaint.
Going through these scenarios helps you understand the varieties of use cases and you may even find there are issues with how you first drew up the app by neglecting a use case.
Wireframes are often low-fi digital prototypes that showcase how your app will look, with important design elements and functionalities in place. This macro look will help designers create a solid foundation to your app or website on which to expand.
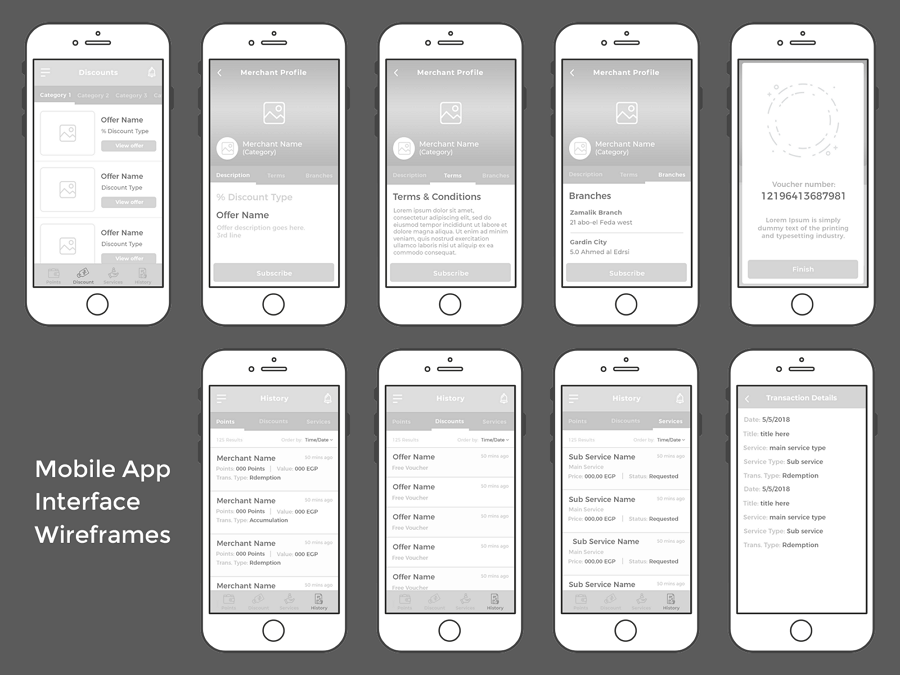
A low-fidelity digital prototype helps you demonstrate the key pages, layouts and functionalities. It helps your team decide on the macro design direction quickly.
To create a low-fi wireframe, you can use a professional wireframing tool that has many ready made components to help you quickly visualize and test your design assumptions.
Mockups are another type of prototypes that are more detailed than those mentioned above. These are predominantly medium-fidelity wireframes - designs with more elements and visual detail than a low-fi wireframe. These are often static, but look exactly like the final product in terms of design.
Mockups are essential for fully testing and demonstrating designs to stakeholders and can be used to show off the design before further resources are spent on development.
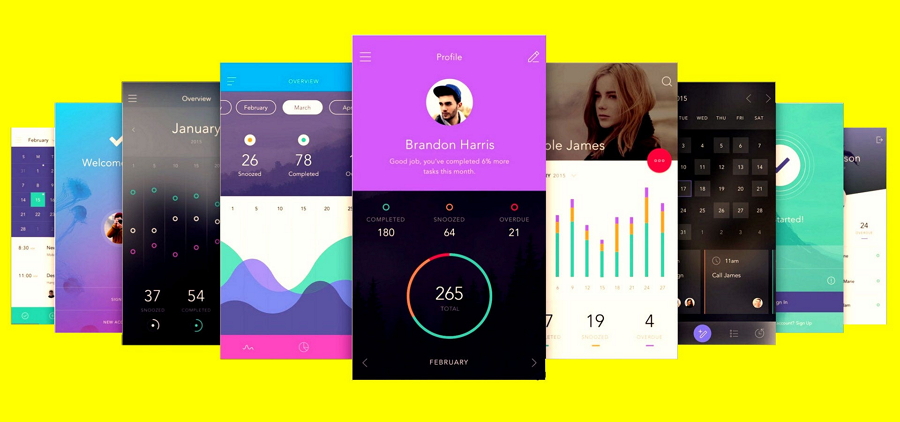
As you can see, app mockups get more colors and elements, making it look just like your final product.
Many UI mockup tools help you quickly turn your ideas into beautiful mockups with just a few clicks.
High-fidelity prototypes are clickable and usable mockups with interactions and detailed visuals, elements and page details. You can directly interact with the app so you can use it just like you would for the final app, and because of this, hi-fi prototypes are incredibly useful in finding issues that you have missed previously because they are essentially the exact same product as you want the user to use.
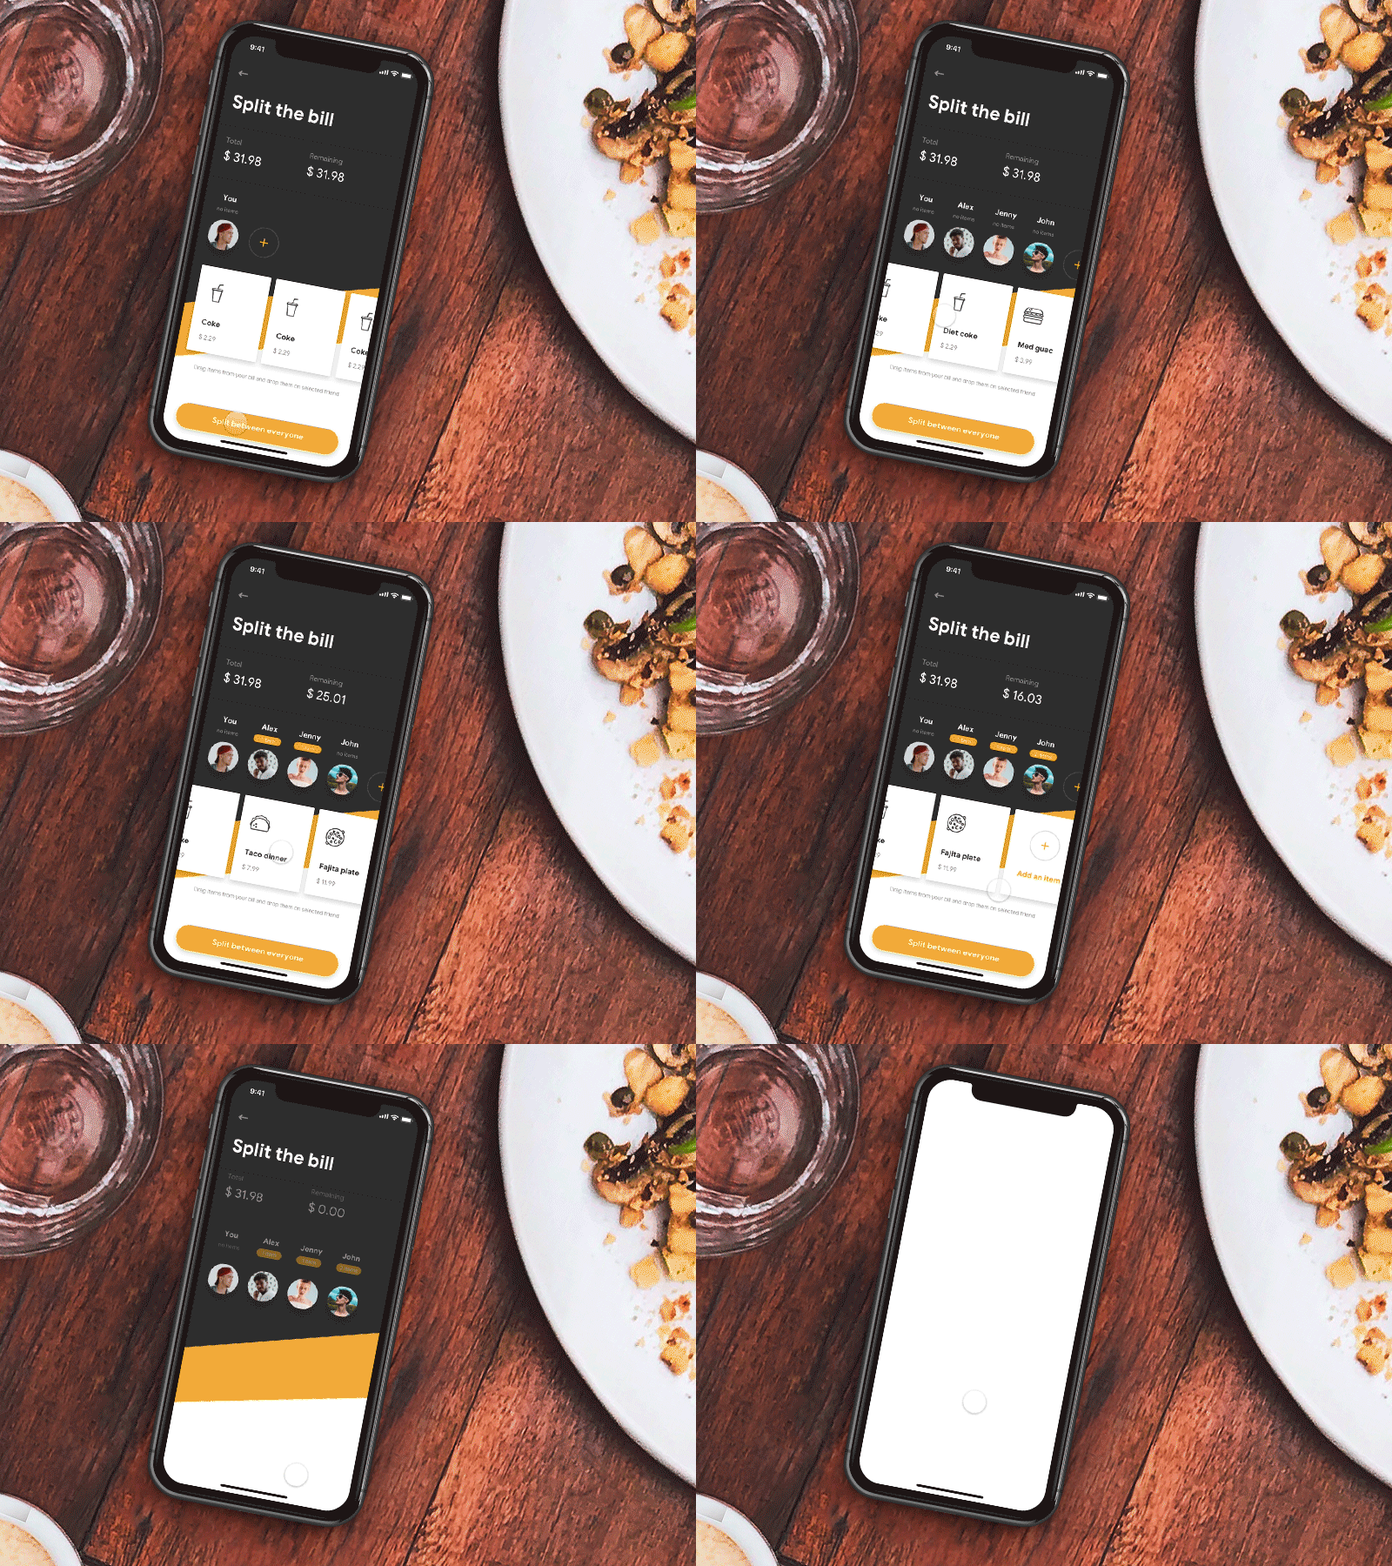
With realistic interface details and interactions, high-fidelity prototypes are used as effective tools to test apps ahead and find all possible issues that users may encounter when using the app in the future.
Designers and product teams often use hi-fi prototypes right at the end of the design process to iterate any final changes and refine the app or website.
To create a high-fidelity prototype, a handy prototyping tool is a must-have tool for you and your team.
You can also read more details about the differences between wireframes, mockups and prototypes.
The Wizard of Oz prototyping method is one that requires developers to create a simple, usable app model to test all functionalities ahead of the full design and development process, so as to find any issues to iterate on or see if there are any unnecessary features. While resource intensive, this method is useful for getting a real life app in your hands, and because it is relatively basic it helps you save time later on when developing the full app by narrowing down on what you need to actually develop, what can be saved for future updates and what isn’t needed.
All of these prototyping methods have been introduced in an order that increases in prototype detail, helping you gradually move on from one to another and choosing the methods that suit you and your team best. Sometimes it is useful to sketch out ideas, then create a storyboard and then go straight into medium or high-fidelity prototyping because you are happy you have worked out any issues.
There are a variety of methods you can use and finding the right combination of prototyping methods helps save you enormous amounts of time during this process, so try them out and see which ones work best for you.
There are many professional app prototyping tools that you can use to visualize and test your ideas:
Sketch - one of the most popular prototyping tools for Mac users. With many smart editing tools, color tools and many more design tools, Sketch helps you create lifelike app prototypes with ease. One of the drawbacks is it lacks functionalities to help you create realistic interactions.
Adobe XD - a simple design tool that helps you create website or app prototypes with simple interactions. With great integration with other Adobe products, XD is a good choice when you've purchased the Adobe suite.
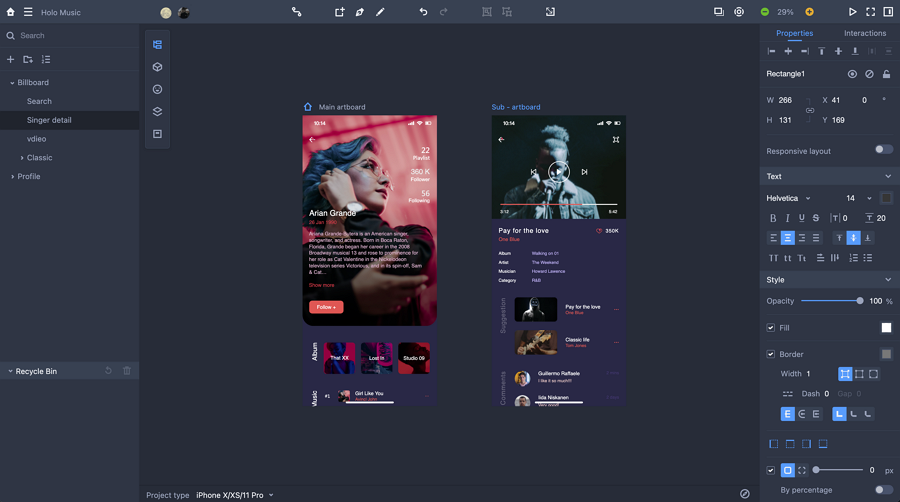
Mockplus - an all-in-one prototyping tool that helps you create wireframes, mockups and prototypes in minutes, with a wide range of ready-made UI components, icons, templates and interactions. All your team members like designers, developers and product managers can work on the same page and collaborate better online.
When creating app prototypes, you should also follow some tips:
To visualize your ideas and test them all out as soon as possible, one of the tips for you is to add real content and interactions. The more real content you've added, the higher efficiency you may get to evaluate your ideas.
By the way, to fully estimate your assumptions, you are also recommended to add as many details as possible.
User flows are one of the most important factors that decide whether or not a user will choose your product. To help evaluate your user flows, map them all out and go through the flows yourself to test whether your page-by-page guidance is user-friendly enough and takes the user on the path you want to take them on.
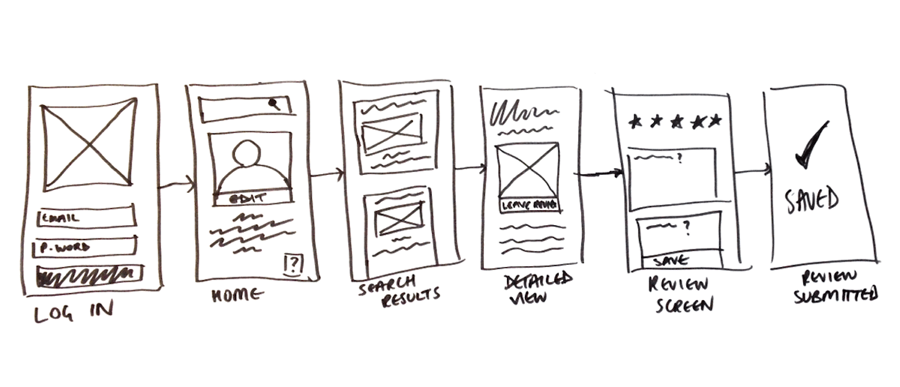
One designer can often miss ideas or issues and working in a team eliminates any tunnel vision. Team members will often see something obvious right away and as a team they can not only fix these issues, but improve upon the design together.
No matter which prototyping methods you use, you need to get real feedback on a real product. The best way is to test out a prototype on different computers and devices, whether or not this is an app or responsive website, test them out as if you are the end user.
Remember, no matter how many details you have added, prototypes are only models for the final product, they still need to be iterated on and updated. Keep doing user research, analyze your audience and see how they are using your app or website - it might be in a way you haven’t thought of before, and adapt and update your design regularly.
Prototyping is essential for designers and product teams. Visualizing ideas and testing them in the early stage of your design-development process is important for creating a fundamentally sound app or website, and helps keep costs down when designing the lifelike model you will have before development.
We hope you can use these prototyping methods to find the most effective way for you to design your product from the early stages up until you hand off your prototype to be developed into the real thing.
 Mockplus RP
A free prototyping tool to create wireframes or interactive prototypes in minutes.
 Mockplus DT
A free UI design tool to design, animate, collaborate and handoff right in the browser.
